
How to Create an Image Mask in OBS
Follow our step-by-step guide below.
Overview
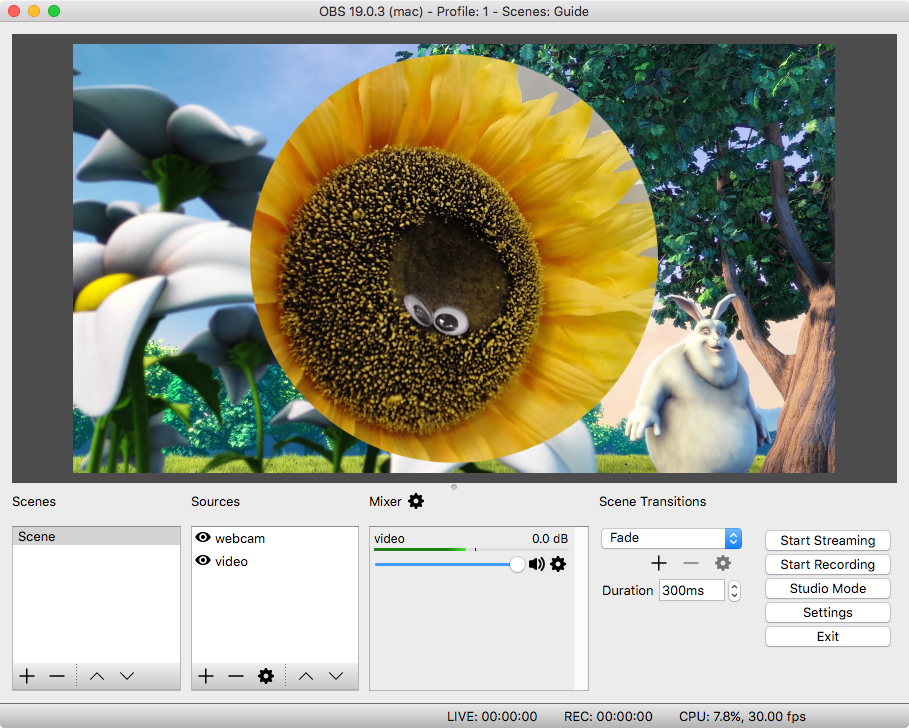
An image mask allows you to manipulate the shape of a media layer in OBS. In this example we will add a circular mask to our webcam source.
1. Add two video sources
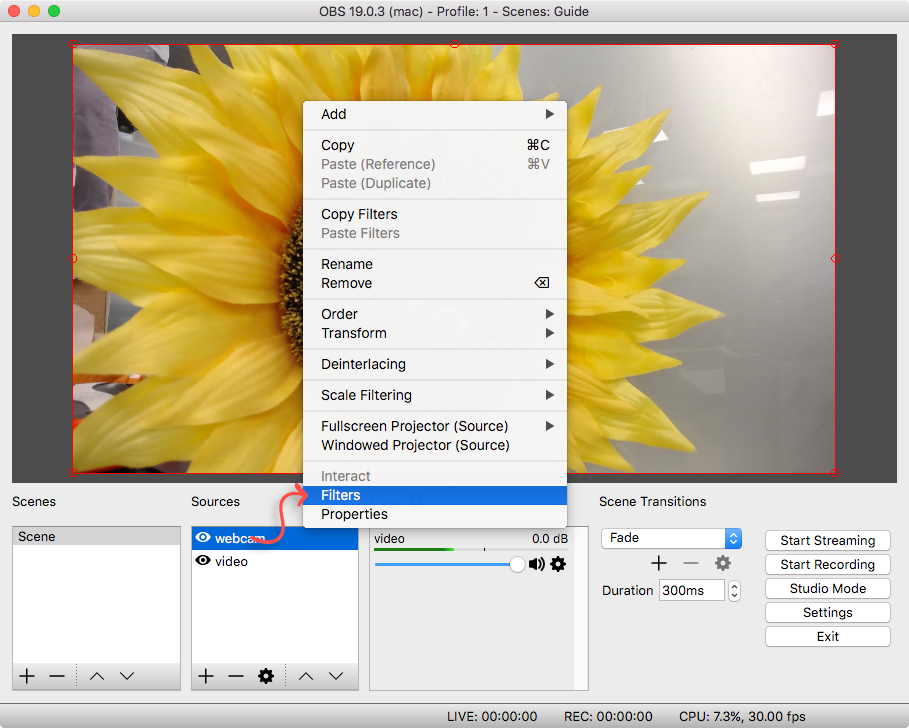
Make sure the video layer you want to use an image mask on is the top layer. Right click on the layer you wish to apply a filter to then select ‘Filters’.
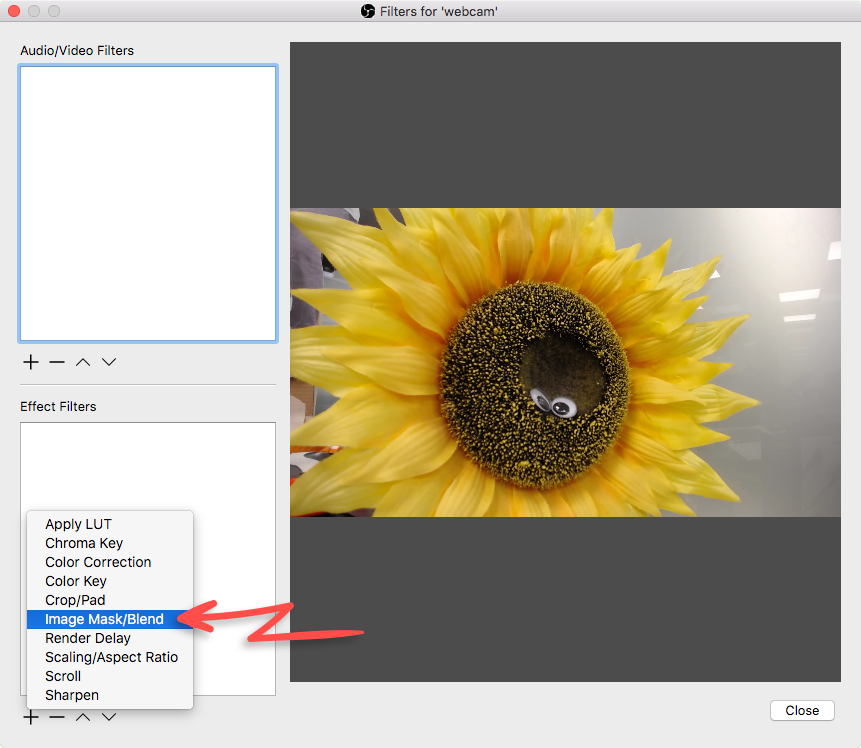
2. Select ‘Image Mask/Blend’
Click the ‘+’ located under the ‘Effects Filters’ section. Select the ‘Image Mask/Blend’ option. Label it something descriptive.
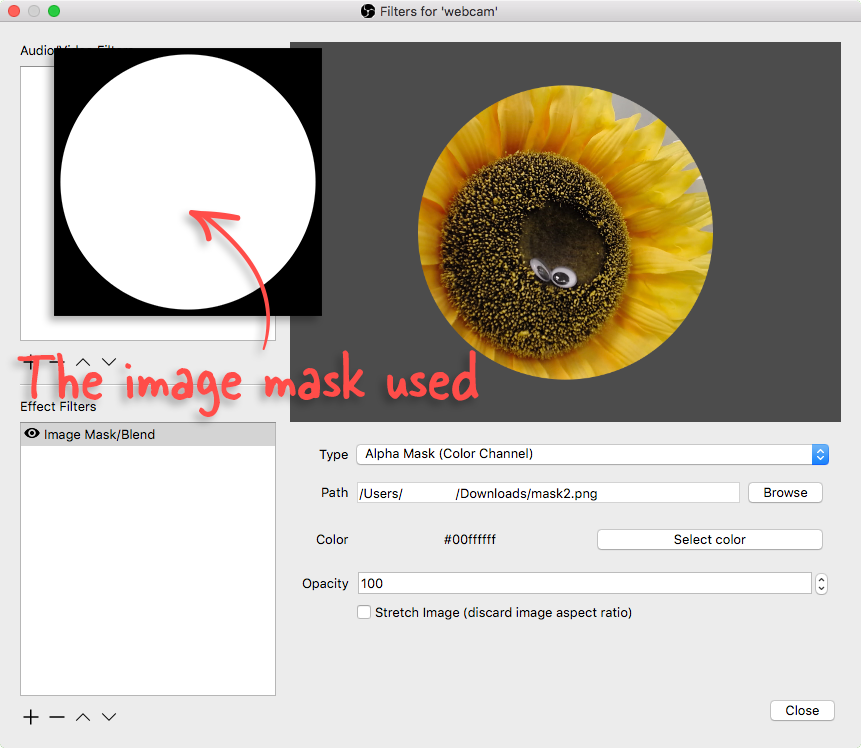
3. Configure the image mask
You’ll first need to browse for the image you wish to use as a mask.
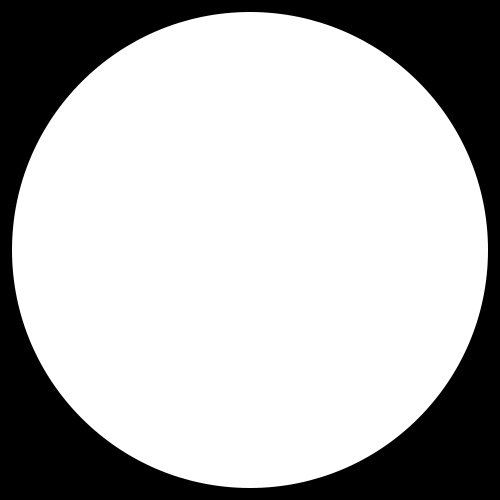
A mask consists of a black and white image. The black section of the image mask is removed from the layer it’s applied to.
In this instance we want to make our layer circular. So what this involves is creating a white circle with a black background. You can directly access the image mask here.
4. Resize and move layer
To resize the layer select it then click and drag one of the corner handles. Once you’re happy with the size, you can click directly onto the layer and drag it around the canvas.
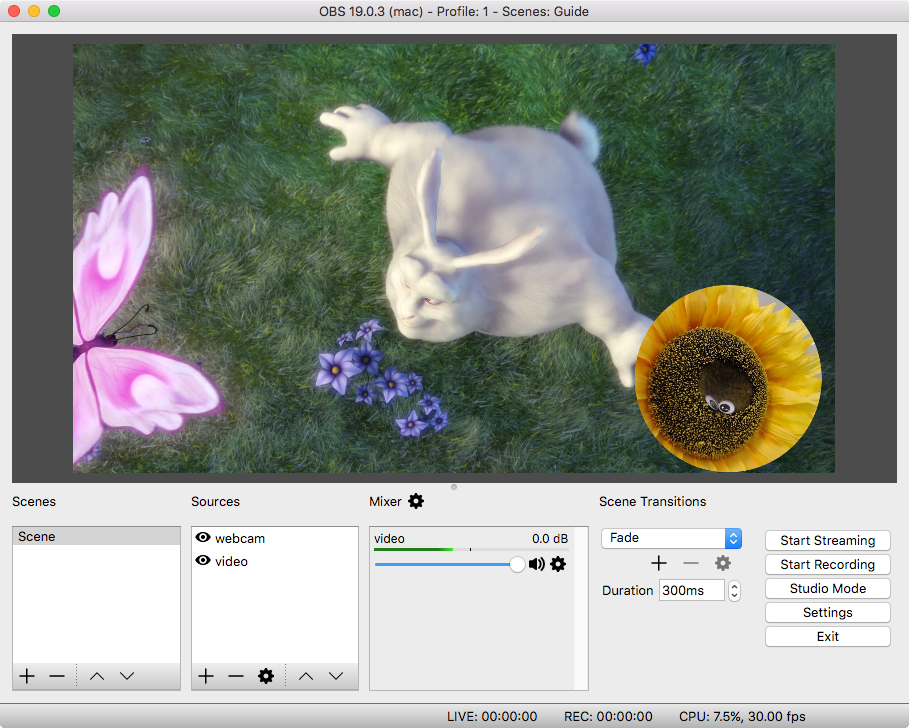
Done!
You can now add an image mask to any layer used in OBS.