
The Best OBS Settings for Live Streaming
When first using OBS you might be overwhelmed by the sheer number of options available and the configuration required. In this guide we’ll go through some of those options, and what you’ll want values to use.
Output Settings Tab
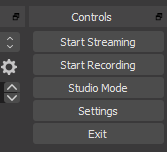
Generally speaking the most important configuration options are under the ‘Output’ tab under ‘Settings’. In this tab you can configure the majority of both video and audio options.
First we’ll want to enter the ‘Advanced’ mode, as this gives us the ability to more tightly tune our OBS settings.
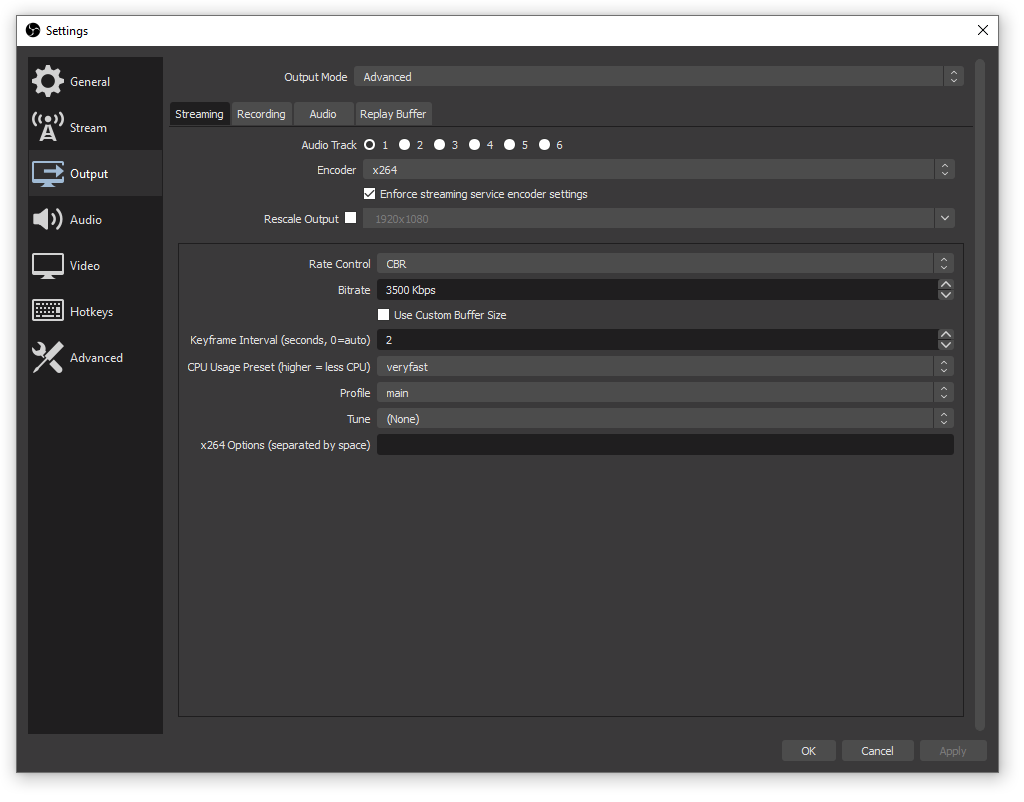
Encoder:
Depending on your hardware you might want to enable hardware encoding. This can either be NVENC or QuickSync. Turning on hardware encoding will reduce the CPU usage, however it can result in slightly lower visual fidelity.
If you don’t have hardware that support hardware transcoding, or you want higher visual fidelity, then go with the x264 option.
Rate Control:
Rate control will determine how consistent or inconsistent your bitrate will be. CBR or constant bitrate is the most widely used and accepted method. Generally speaking CBR also provides the highest visual fidelity, as it will aim to maintain a consistent specified bitrate. However, the downside to this is that it will require higher bandwidth.
If you have limited upload bandwidth, then VBR or variable bitrate is a good choice. Just make sure the platform you’re streaming to supports it.
Bitrate:
Your bitrate will be determined by a number of factors including:
- Video resolution
- Video frame rate
- Upload bandwidth available
The below table gives you a rough guide on what bitrates to use.
| Video Bitrate | Audio Bitrate | Resolution | |
| 1080P | 6,000Kbps | 128Kbps | 1920×1080 |
| 720P | 3,000Kbps | 128Kbps | 1280×720 |
| 480P | 1,000Kbps | 128Kbps | 854×480 |
| 360P | 600Kbps | 96Kbps | 640×360 |
| 240P | 300Kbps | 96Kbps | 426×240 |
We go into much more detail about how to determine your ideal bitrate in this article about BPP or bits per pixel.
Keyframe Interval:
For live streaming you will want to set your keyframe interval to 2. What this means is that a full video frame will be rendered every 2 seconds. If you want to learn more about keyframes, head over here.
CPU Usage Preset:
CPU Usage Preset is only relevant if you’re using software encoding, x264. It will determine how much CPU power you wish to use to render the video. The slower you set it, the higher the video quality, however the higher the CPU usage is. Generally the sweet spot is ‘veryfast’.
Profile:
In most cases you will want to set ‘Main’ as the profile. You can go down the rabbit hole and learn what each of the profiles do, and what different features they support. You can read more about it here.
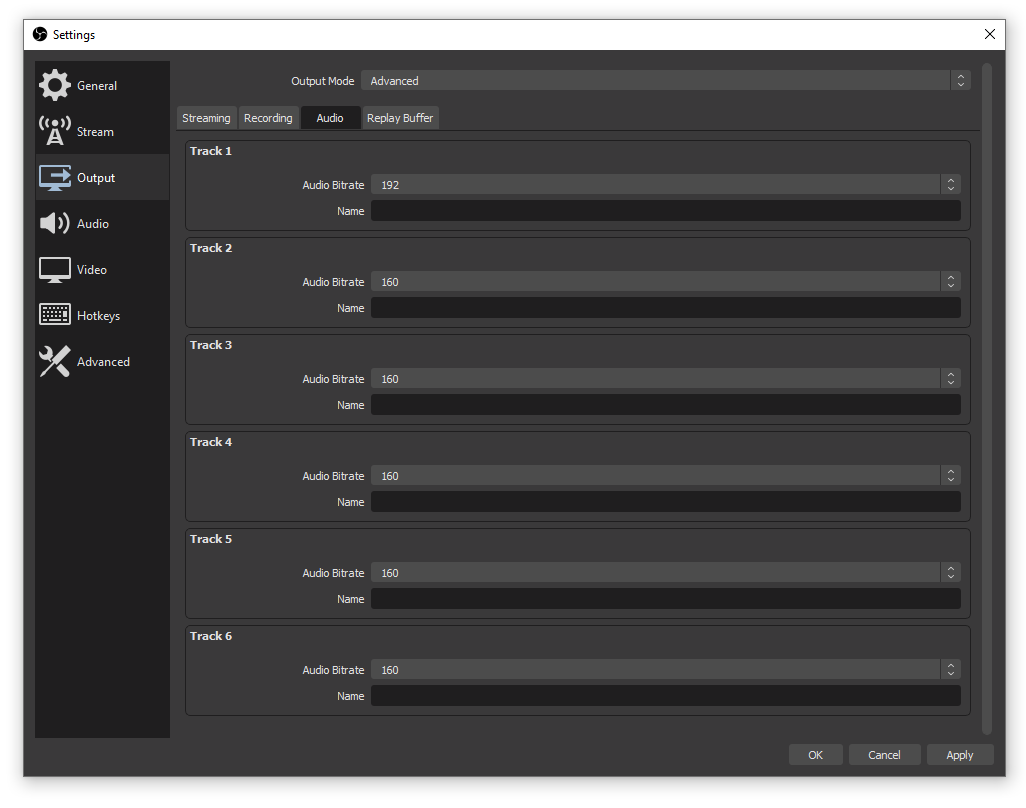
Audio:
Setting up audio is relatively straightforward. All you really need to do is set an audio bitrate. We recommend at least 128, as any lower the audio can sound quite compressed. If you run into any audio sync issues, you can set an audio delay to align sync. You can check out our guide on how to do that here.
Video Tab
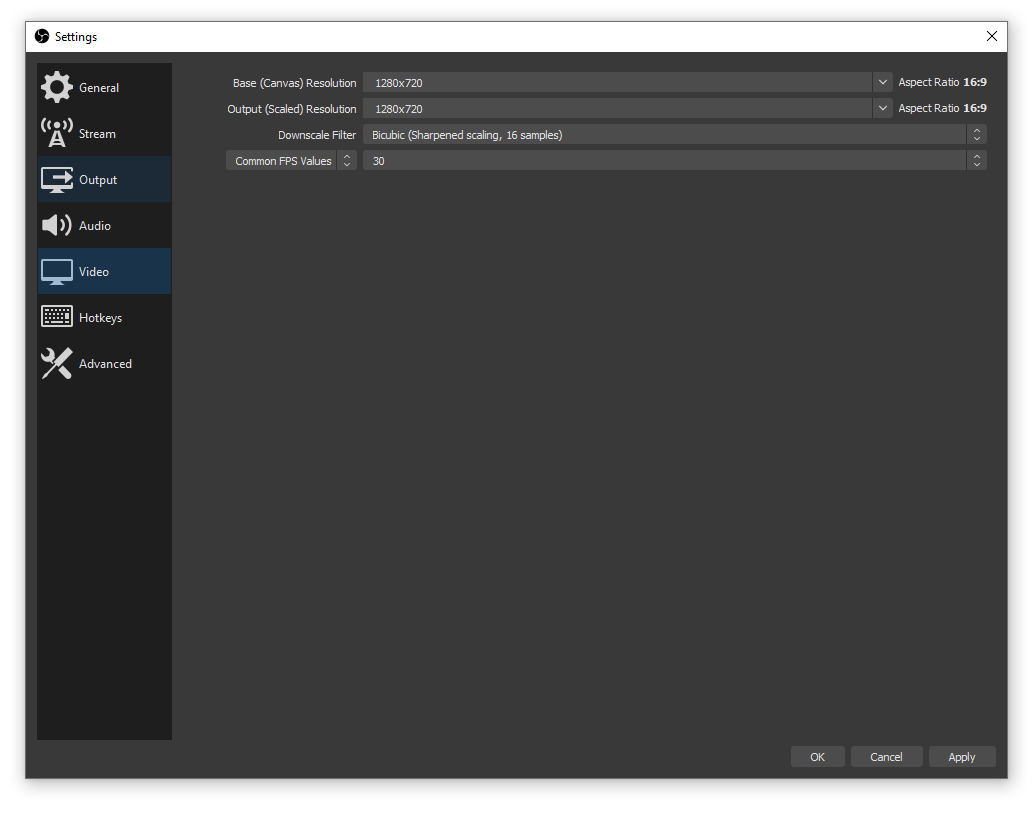
Next we’ll go to the ‘Video’ tab. In this area we specify what resolution we want the stream to be output at. For the highest visual fidelity you will want your base canvas to match your output resolution. However, if you’re capturing your whole desktop, and it’s 2K or higher resolution, you might want to have a scaled down output resolution to something more manageable like 1080p or 720p.
Final Thoughts
By using the values suggested in this guide you should get a decent quality stream being broadcast by OBS.
However, if you or your viewers are noticing stuttering or a weird frame rate of your live stream, you might be dropping frames. In OBS if you look at the bottom right of the application you will notice a ‘Dropped Frames’ value. If this is anything other than 0% then your stream will have some issues.
There could be a number of things causing this issue. We’ve made a guide that you can follow here on how to stop dropped frames.

